Have you spent a lot of money on garden markers, and not really liked them?
Want something with a natural, organic look? Or, looking for garden markers that are easy to replace with seasonal gardens and new plantings?
Try Sharpie rock art.
This has to be the easiest gardening project we’ve ever tried. All it takes is a Sharpie and a rock. Here’s how to make these garden markers:

Materials For Sharpie Rock Art:
Sharpie:
Vary tip point sizes and colors for different looks.
Rocks:
River rocks work great. But, you can use any type of rock. See the tips below in the last section of this article.
The size of rock will depend on whether the garden marker is for a container or garden. The only limit with this garden marker project is the type of rock you can find. Be on the lookout for cool rocks while traveling.
You can overdo this project if you want. Shellac the rocks after writing on them, if you want to add another finish and spend more money. But, we like this natural gardening look.

How to Make Sharpie Rock Art Garden Markers:
- Wash the rocks (if caked with mud) or wipe them down. Let them dry.
- Draw. Be creative or don’t.
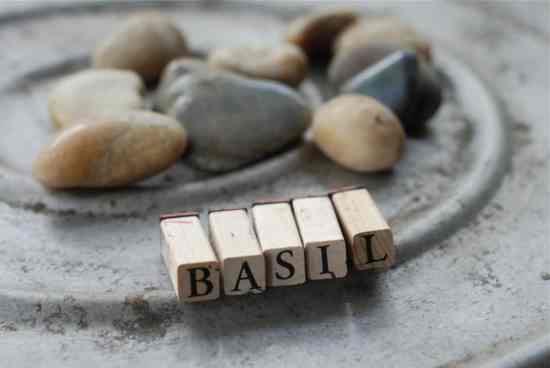
If you are not great at freehand drawing, use stamps. No ink pad is necessary. Just use the Sharpie to color the stamp. It works the same way, and saves money. - That’s it. Drop them in a planter or in the garden.
Sharpie Rock Art Tips:
- Use a pencil to sketch the design.
- Vary Sharpie tip points for different looks.
- Smoother rocks create a better surface for writing or drawing.
- Shiny rocks are very slick. The Sharpie easily slides on this surface. Write slowly.
- Rocks don’t have to match. Vary rocks to make it easier to add rock garden markers next year with different plantings.
If you are looking for more ways to make your own garden markers, check out these five inexpensive DIY garden markers from Chas at Chas’ Crazy Creations.


Great idea!